Patchwork hoodies have been growing in popularity, spreading across different internet platforms like TikTok and Instagram. In fact, these sweatshirts have started to make their way into our school. Many people who walk the halls have personalized their sweatshirts with different designs. If you are wanting to make your own patchwork hoodie here are some steps you can take.
- You will need to locate a craft store in the area, such as Hobby Lobby or Michael’s.
- There are many different supplies you will need including: string (can be a thicker string or a thinner sewing string), a sewing needle, fabric of your choice, scissors, and of course a sweatshirt or a crew neck.
- To start the process of making the hoodie you are gonna need an idea for the design of your choice, which you can find inspiration for on Pinterest or Instagram.
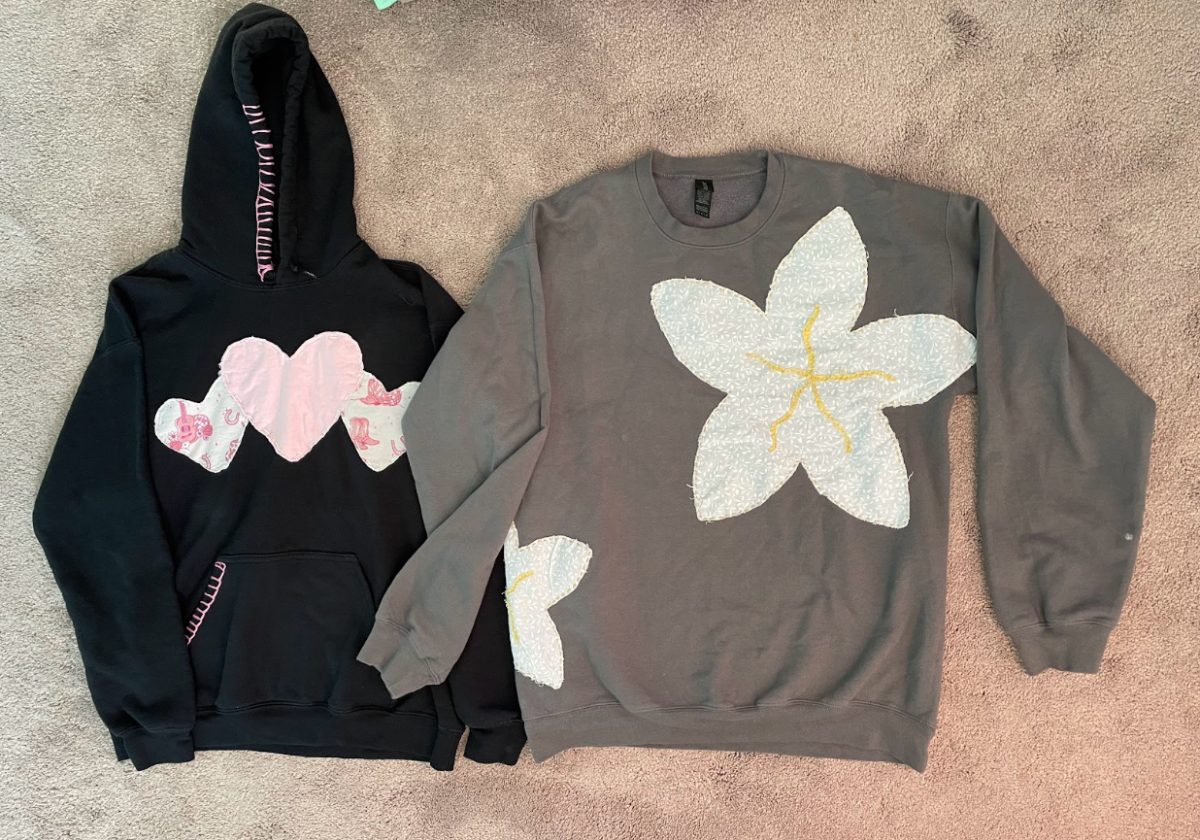
- Use scissors to cut out your wanted design, whether that be a surfboard, heart, stars or flowers.
- Once the design is chosen and cut out, map out exactly where you want the design to be on the sweatshirt and pin it down.
- Carefully pull your string through the hole of the needle and try to estimate exactly how much string you will need to get around the border of the design.
- Carefully tie a knot at the end of the string so it will be possible to thread through the design.
- Start at the inside of the sweatshirt so that the knot is hidden and the strings are the same all the way around the design.
- Thread the needle all the way through the fabric and then make another hole through the sweatshirt about an inch down from the hole you just made.
- Continue the process until the design is fully threaded through and in place.
- When ending the thread, make sure it once again is on the inside of the sweatshirt, then cut the string to get the needle off and tie a knot so that the thread is stuck in place.
- After tying the string, you have a finished patchwork hoodie!